If you’re planning to install roofing shingles, the steps involved in the process may differ depending on the type of shingles you’re using and the condition of your roof. Nonetheless, here are some basic steps that can be followed:
Step 1 – Get ready
The first step is to choose reliable roofing materials. We recommend to look at Technonicol shingles.
Before installing the new shingles, it’s important to get the roof ready. This involves taking off any old shingles, examining the roof for any issues, and fixing any problems that are found. The surface of the roof should be clean, dry, and clear of any debris before beginning the installation.
Step 2 – Apply underlayment
Roofing shingle underlayment is a waterproofing material that is installed on the roof deck before the shingles are applied. The underlayment serves as a secondary layer of protection against water infiltration, and it helps to prevent damage to the roof deck and the interior of the building in case the shingles are damaged or fail to prevent water infiltration.
There are two main types of underlayment used in roofing: felt and synthetic. Felt underlayment is typically made of organic or fiberglass materials that are saturated with asphalt or another waterproofing material. It is generally less expensive than synthetic underlayment but also less durable and less resistant to tearing or wrinkling. Synthetic underlayment, on the other hand, is made of plastic or polymer materials that are coated with waterproofing compounds. It is generally more expensive than felt underlayment, but it is also more durable and resistant to tearing or wrinkling. Additionally, synthetic underlayment is typically lighter and easier to handle than felt, and it may provide better protection against moisture and UV damage.
The underlayment is installed by rolling out sheets of material over the roof deck and nailing or stapling it in place. The sheets are typically overlapped to create a continuous barrier against water infiltration. The underlayment is installed before the shingles are applied, and it is important to ensure that it is installed properly to ensure proper protection of the roof and the building.
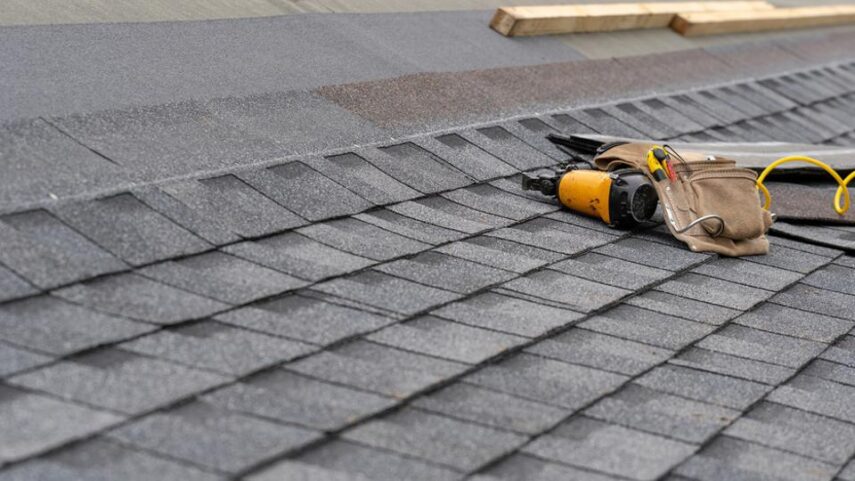
Step 3 – Install starter shingles
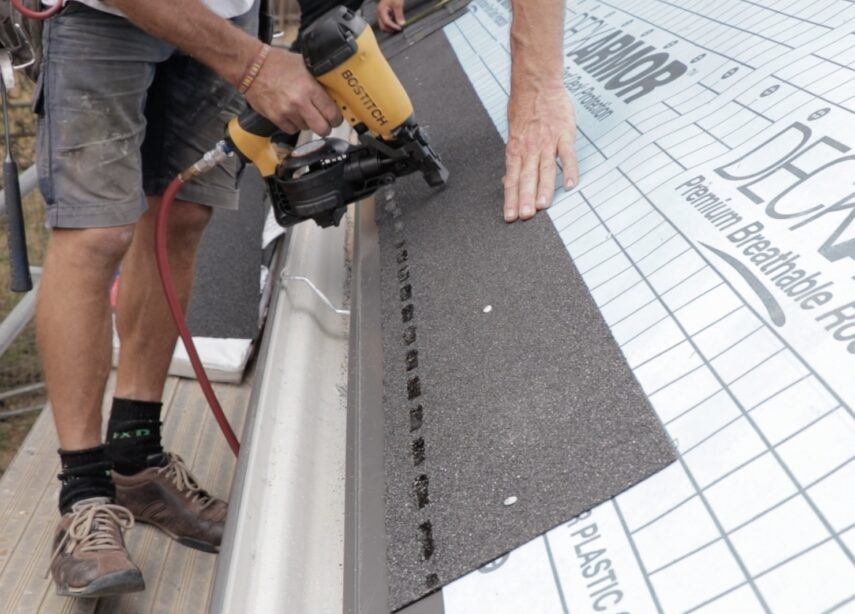
Starter shingles are a type of specialized shingle that is used at the bottom edges of a roof to provide a solid foundation for the first course of shingles. They are designed to be wider and shorter than standard shingles, and they have an adhesive strip on the back that helps to secure the first course of shingles in place.
Starter shingles provide several important benefits for a roofing installation. First, they help to seal the edge of the roof and prevent wind-driven rain or ice from getting under the shingles and damaging the roof deck or the interior of the building. Second, they provide a straight and even starting point for the shingle courses, which helps to ensure that the shingles are properly aligned and will lie flat on the roof. Finally, the adhesive strip on the back of the starter shingle helps to hold the first course of shingles in place and prevent them from shifting or sliding during installation or in high winds.
Starter shingles can be made of the same material as the rest of the shingles used on the roof, such as asphalt, wood, or synthetic materials. They are typically installed along the eaves and rakes of the roof, and they may be cut to size as needed to fit the specific dimensions of the roof. Overall, starter shingles play an important role in ensuring the durability and longevity of a roofing installation by providing a solid foundation and a secure starting point for the shingle courses.
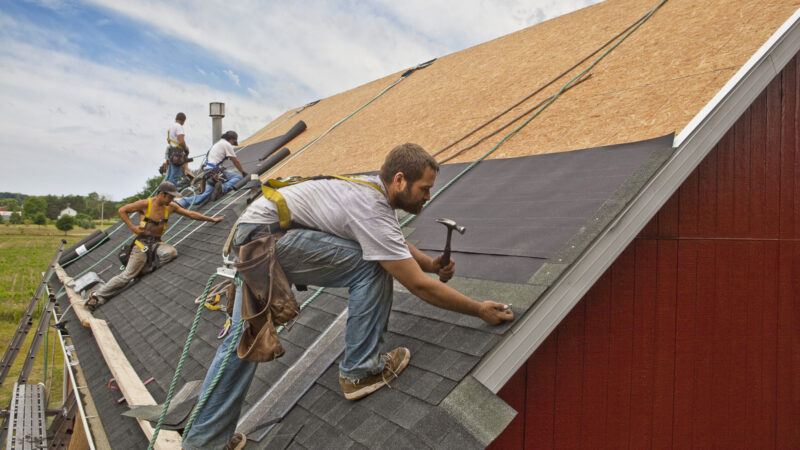
Step 4 – Install the shingles
The shingles are installed in courses, starting at the bottom of the roof and working upward. Each shingle is nailed in place using roofing nails and a nail gun. The nails are typically placed just above the adhesive strip on the shingle to create a seal and prevent water from seeping under the shingle.
Step 5 – ventilation
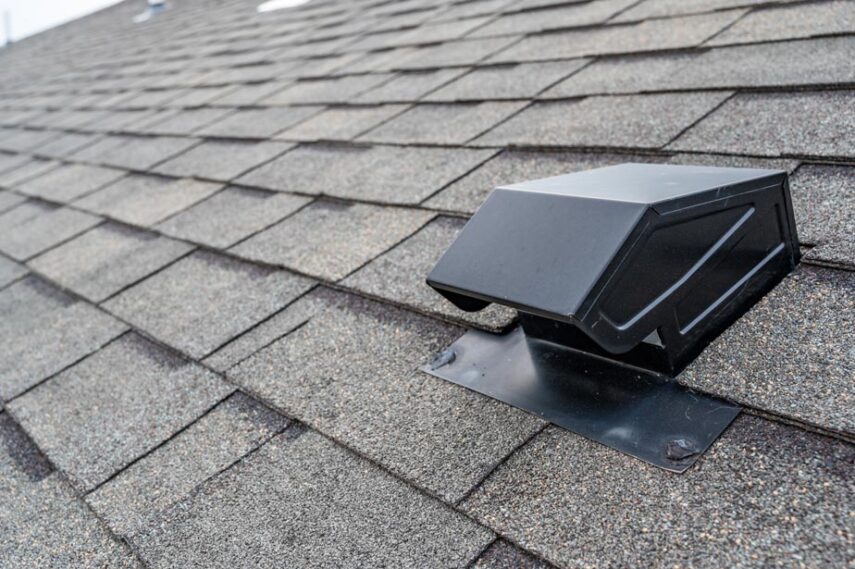
It is important to ensure that the roof has proper ventilation to prevent moisture buildup and prolong the life of the roof. This can involve installing vents at the roof ridge, in the soffits, or in the gable ends.
- The amount of ventilation needed for a roof depends on the size and shape of the roof, as well as the climate and other factors. As a general rule, the total net free area of ventilation should be at least 1/150th of the total insulated ceiling area for most roofs. Check with your local building codes for specific requirements in your area.
- Install vents at the ridge. One of the most effective ways to ventilate a roof is to install vents at the ridge of the roof. Ridge vents are long, narrow openings that run along the peak of the roof and allow hot air to escape. They should be installed on both sides of the ridge to provide proper cross-ventilation.
- Install soffit vents. Soffit vents are located along the underside of the eaves of the roof and allow cool air to enter the attic or roof space. They should be installed in a continuous strip along the entire length of the eave to provide sufficient ventilation.
- In some cases, it may be necessary to install additional vents, such as gable vents, to provide sufficient ventilation. Gable vents are installed in the end walls of the attic space and allow air to circulate.
Final step – finishing.
The last step in the roofing shingle installation process is adding ridge caps along the ridges and hip caps along the hips of the roof to provide a finished appearance and additional protection from the elements. These caps are typically made of the same material as the shingles. While installing roofing shingles can be complicated and requires close attention to detail, it is often wise to hire a professional roofing contractor to ensure the job is done correctly and to prevent potential issues in the future.